Solution
Steps for transferring your Saved email IDs in Outlook from one system to another
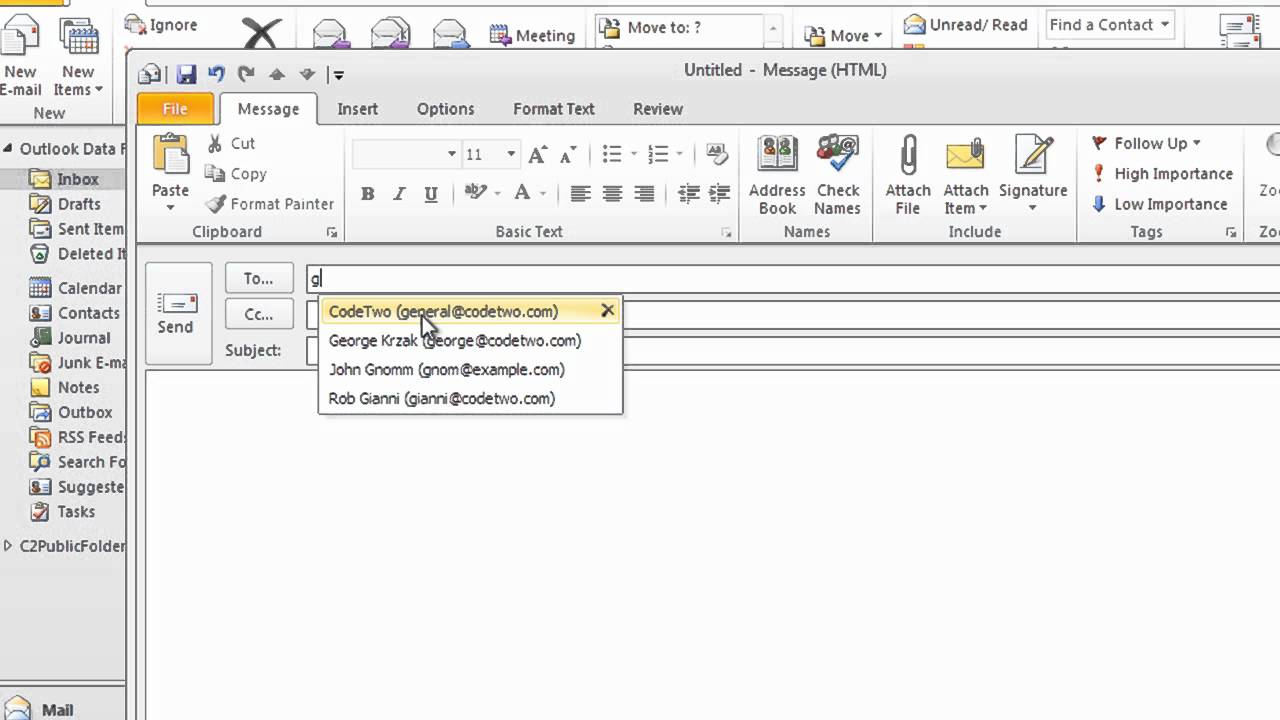
If you have configured Outlook on your new system. Suddenly, while typing the mails you realize that none of the suggestions of E-mail ID appears in your Outlook. This is because the E-mail IDs were stored locally in Outlook on your previous system.
Relax, you can still recover all the email suggestions on your new system. Follow the below steps to do the same -
Step 1: Export the AutoComplete mailbox message
Exit Outlook.
Download and install MFCMAPI from https://github.com/stephenegriffin/mfcmapi
Run mfcmapi.exe.
On the Session menu, click Logon.
If you are prompted for a profile, select the desired profile name, and then click OK.
In the top pane, locate the line that corresponds to your mailbox, and then double-click it.
In the left-side navigation pane, expand Root Container, and then expand Top of Information Store or IPM_SUBTREE.
Right-click the Inbox folder, and then click Open Associated Content Table. This action opens a new MFCMAPI window that contains various properties.
Under the Subject column, right-click the item that has the subject IPM.Configuration.Autocomplete, and then click Export Message. This action opens the Save Message To File window.
In the drop-down list, select MSG file (UNICODE), and then click OK.
Select a folder location to which you want to save the message, and then click Save. Note this location.
Step 2: Import the AutoComplete mailbox message
Exit Outlook.
Download and install MFCMAPI from https://github.com/stephenegriffin/mfcmapi
Run mfcmapi.exe.
On the Session menu, click Logon.
If you are prompted for a profile, select the desired profile name, and then click OK.
In the top pane, locate the line that corresponds to your mailbox, and then double-click it.
In the left-side navigation pane, expand Root Container, and then expand Top of Information Store or IPM_SUBTREE.
Right-click the Inbox folder, and then click Open Associated Content Table. This action opens a new MFCMAPI window that contains various properties.
To avoid duplicate entries, you must delete the existing AutoComplete message.
Note: Before you delete the IPM.Configuration.Autocomplete message, you must export the message by using the steps in the "How to export the Auto-Complete cache" section.
To delete the existing AutoComplete message, follow these steps:
In the Subject column, locate the item that has the subject IPM.Configuration.Autocomplete.
Right-click the item, and then click Delete message. This opens the Delete Item window.
In the drop-down list, select Permanent deletion (deletes to deleted item retention if supported),
and then click OK.
On the Folder menu, click Import, and then click From MSG.
Locate the .msg file that you created in step 11 of the "Export the AutoComplete mailbox message" above, and then click OK.
In the Load MSG window that appears, select Load message into current folder in the Load style list, and then click OK.
MOST VIEWED ARTICLES
LATEST ARTICLES
13 Feb, 2021
13 Feb, 2021